Something went wrong. Please refresh the page and try again.
Something went wrong. Please refresh the page and try again.
Notifications can be turned off anytime from settings.
Item(s) Added To cart
Qty.0
Something went wrong. Please refresh the page and try again.
Something went wrong. Please refresh the page and try again.
Exchange offer not applicable. New product price is lower than exchange product price
Please check the updated No Cost EMI details on the payment page
Exchange offer is not applicable with this product
Exchange Offer cannot be clubbed with Bajaj Finserv for this product
Product price & seller has been updated as per Bajaj Finserv EMI option
Please apply exchange offer again
Your item has been added to Shortlist.
View AllYour Item has been added to Shopping List
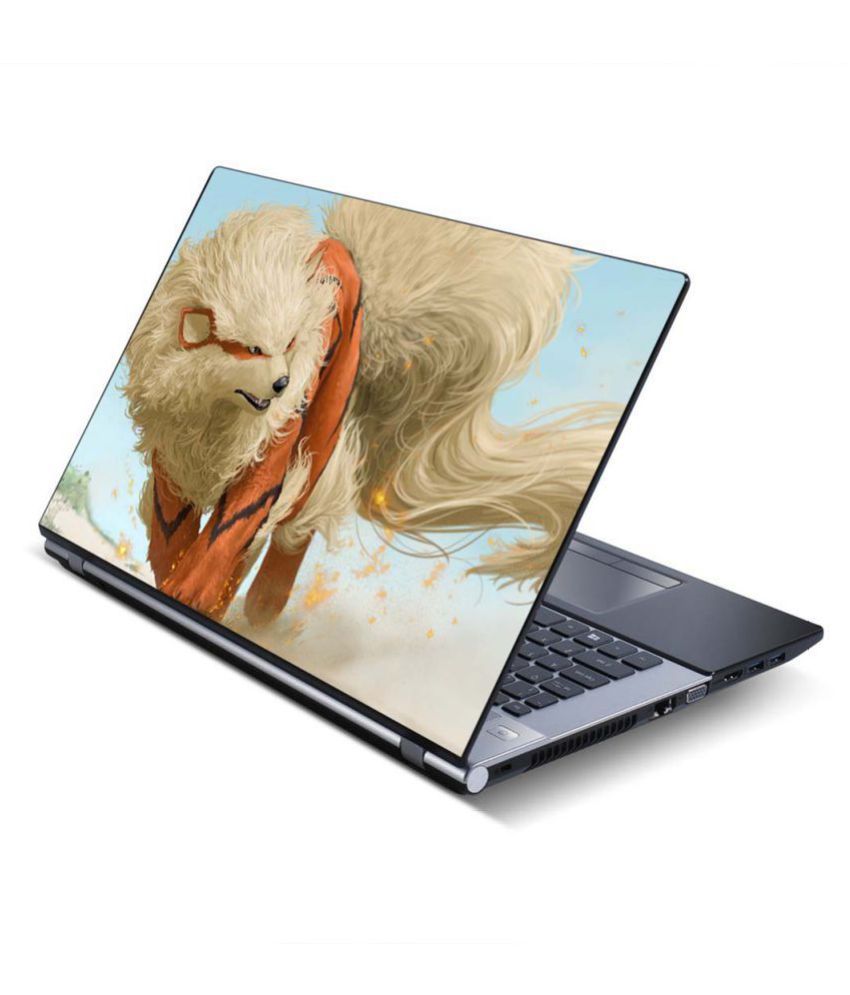
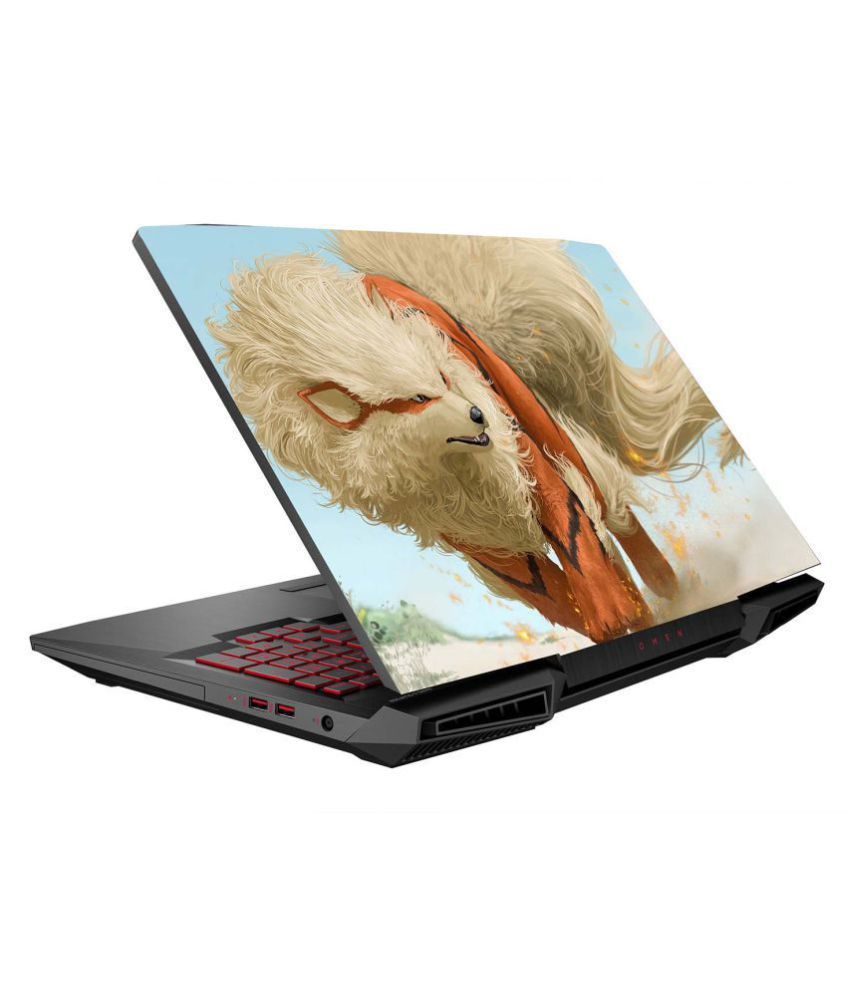
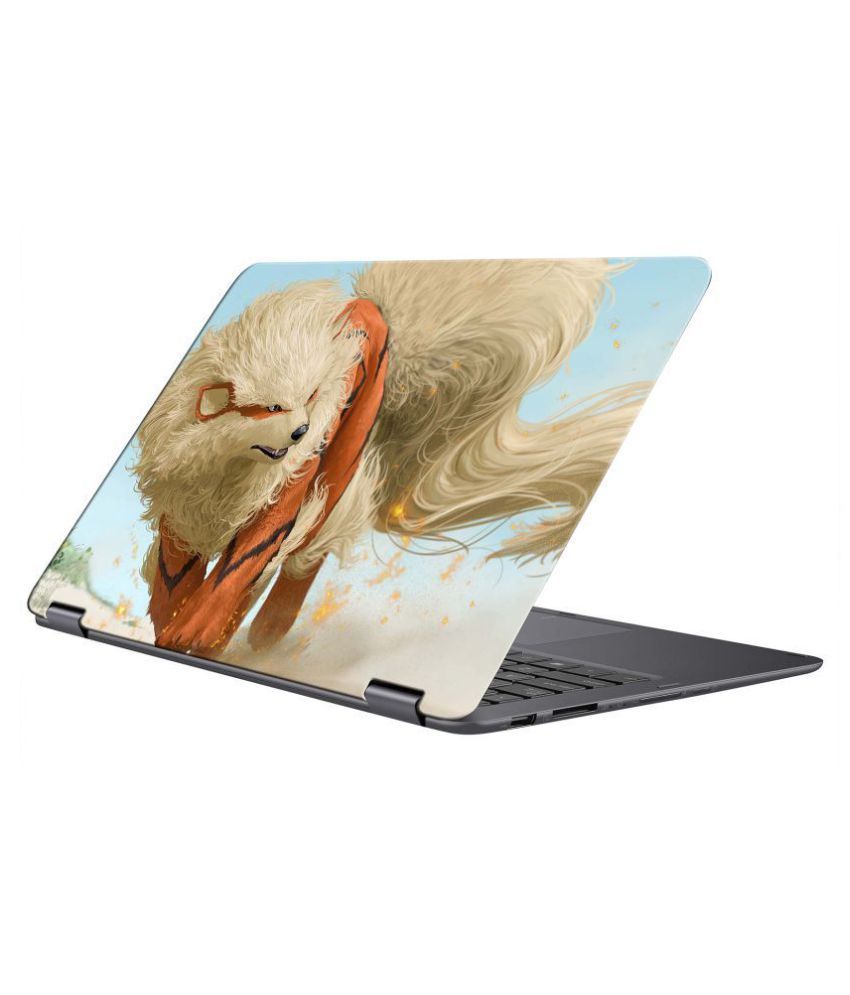
View AllSorry! 100yellow Pokemon Gaming Laptop Skins 15.6 Inch for Dell-Lenovo-HP-Acer is sold out.


You will be notified when this product will be in stock
The images represent actual product though color of the image and product may slightly differ.
Snapdeal does not select, edit, modify, alter, add or supplement the information, description and other specifications provided by the Seller.
Register now to get updates on promotions and
coupons. Or Download App